Windows Subsystem for Linux (WSL) is really cool (currently at version 2, or WSL2). It allows use of some of the most popular Linux distributions from within, and alongside, Windows programs. As long as your PC meets the minimum requirements (which really are minimal), installation is trivial. Installation consists of typing “wsl —install” in an elevated command, powershell, or Windows terminal shell. With this approach, Windows installs the default distribution (which is Ubuntu) and then prompts for a username and password. After that, you find yourself in a Linux shell (bash).
I installed and played around with WSL quite a while back, but hadn’t made much use of it. That, however, has recently changed. I (finally) found some computer hacking training (don’t worry, I’m not doing anything nefarious) that both fits with the way I learn and is organized in (what is for me) an approachable way. If you want to learn computer hacking, check out HackTheBox.com. I’d started several other tutorials and trainings over the past couple of years with limited success, but I think HackTheBox is going to be a keeper. More on that in another, future, post.
To digress a bit, I was at first using Kali Linux installed in a Hyper-V virtual machine to do the hands-on exercises at HackTheBox. This worked pretty well, but there were a couple of minor drawbacks: (1) I had to start and stop the VM, which didn’t take long, but did take a bit of extra time (and clicks), and (2) transferring files between the VM and my main PC was less than seamless. Also, copy-and-pasting between the VM and my PC did not seem to work for me (maybe it was me, or maybe it’s not supported), and while that sounds like only a minor inconvenience, it’s something that would be really helpful. The nice part about the VM approach is that I had a full Kali Linux desktop GUI available where I could run a browser, a shell or three, and the Open Source version of VS Code (distinguishing between the Open Source and Microsoft versions will be important later).
Getting back to WSL, I looked and found that Kali Linux was one of the officially supported distributions. I installed it and poked at it for a while, and found that it did not include any (or at least most) of the hacking tools that basically come with Kali (note that I almost always install use the Kali NetInstaller and choose the “large” or “everything” option (I forget exactly how it’s described). A serendipitous search revealed them missing piece: “sudo apt update” followed by “sudo apt install kali-linux-large -y” fixed all the missing tools issues.
Some of the tools that are routinely used in the HackTheBox exercises run in a shell with no problem. Some, however, such as the Firefox browser, require a GUI to use effectively. Not knowing what would happen, but hoping it wouldn’t melt my PC, I opened the WSL Kali terminal, installed, and then ran, Firefox. Much to my delight it popped open a Firefox window – running in Kali – on my Windows desktop.
Encouraged by my success, I started the Open Source version of VS Code from the Kali terminal. It, too, popped open in a new window on my Windows desktop. Let me briefly digress here once again. I had been using Code in my Kali VM to take notes and keep track of relevant information about the HackTheBox exercises. This worked well, but the Open Source version did not seem to have the capability to sync my settings via my GitHub account. Not a deal-breaker, but definitely an annoyance.
With everything working, I decided to try doing the next HackTheBox exercise using Kali on WSL. Everything worked perfectly, and I was able to copy-and-paste between Firefox running on Kali and programs running directly on Windows. Performance was excellent, and I was able to use all of the desktop real estate provide by my 43” monitor with 4k resolution.
And now, finally, the point of this post…
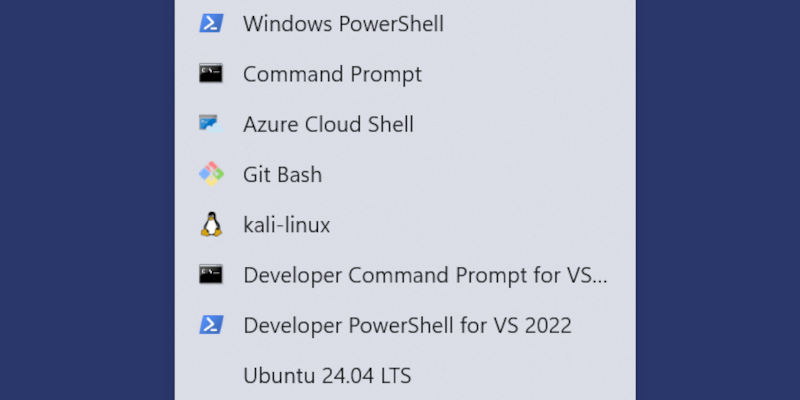
In my VS Code configuration on Windows, I have several extensions installed, including the “Remote Development” extension pack published by Microsoft. I’ve used the tools in that pack to connect to Linux running either in a VM or on a Raspberry Pi and edit files on those remote file systems. One of the tools included – and one which I’d either not noticed or had ignored – provides easy, totally transparent connection to any of the Linux distros running in WSL. Clicking the “Open a Remote Window” button (the green button in the extreme lower left corner once the Remote Dev pack is installed in VS Code) opens a list of currently available distros in WSL. Clicking the name of the desired distro – in my case, Kali-Linux – connects to that file system and runs VS Code as if it was running there natively. Note that it does a little bit of setup on the remote system the first time, but it takes only a few seconds.
I’m probably the last person on the planet to know about this. Why didn’t someone mention it to me?